


Robotime Rokr 3D Owl Desk Clock Kit LK503 – 161pcs DIY Wooden
30-Day Return Request Window
Eligibility and exclusions apply; review our Refund Policy before ordering.


Book Nook Starter Tool Kit – 9-Piece Precision Set
Cutter, tweezers, knife, file and sanding sticks in one box
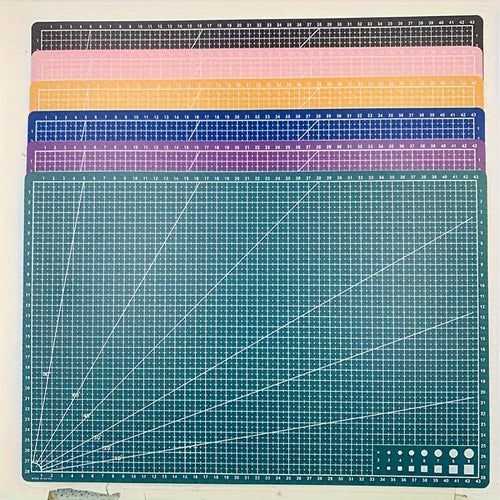
Craft Cutting Mat – A3/A4/A5 Sizes
Protects your table and keeps cuts straight
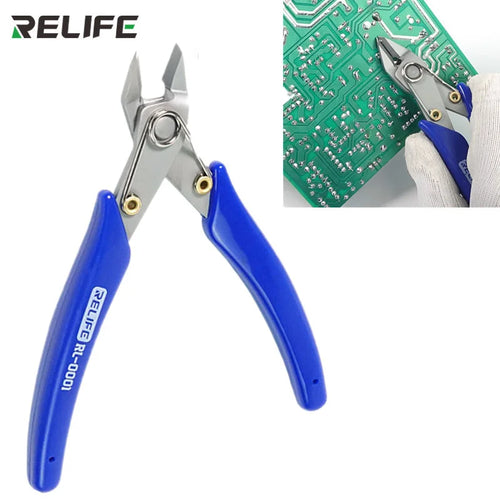
RELIFE RL-0001 Precision Wire Cutter
Snips parts cleanly from the sheet
Couldn't load pickup availability
🚚 Dispatch: 2–5 business days
🔎 Tracking updates: typically within 2-4 days

Robotime Rokr 3D Owl Desk Clock Kit LK503 – 161pcs DIY Wooden
-
Ordered
- - -
Order Ready
- - -
Delivered
The Robotime Rokr LK503 3D Owl Clock Kit builds into a working desk clock shaped like a wide-eyed wooden owl. A professional quartz movement keeps accurate, quiet time inside — but from the outside, it's a detailed sculptural piece that earns its place on any desk or shelf.
The kit also includes a built-in 30-minute bell timer on the back — a practical touch for study sessions, cooking, or focused work blocks.
What's in the Box
Owl Clock (Standard)
- 161 laser-cut wooden components
- Quartz clock movement + hands
- Step-by-step illustrated assembly guide (EN)
With Gift Set (Includes extras)
- Everything in standard kit
- Branded gift packaging
- Supplementary accessories (screwdriver, sandpaper, wax)
Not Included
- Batteries (required for clock movement and bell timer)
Build Tips
- Start with the body frame: The owl's structural panels interlock before the decorative layers — follow the sequence in the guide exactly.
- Install the movement before sealing: The quartz mechanism fits through the front face — ensure clearance before closing the rear panels.
- Sand lightly between steps: A light sand on interlocking tabs makes joins smoother and gives a cleaner finished surface.
A Clock You Built Yourself
Every glance at this clock carries a quiet pride — because you assembled it yourself. The wooden gears, the precise mechanism, the decorative details all lock together through your patience and care. The visible mechanism celebrates the art of traditional clockmaking through modern DIY craft.
Kit Contents
- Precision-cut Wooden Parts — high-quality plywood for smooth assembly
- Clock Mechanism — reliable quartz movement included
- Assembly Tools — everything you need in one box
- Detailed Instructions — step-by-step illustrated guide
Suitable for ages 14+. A wonderful STEM-inspired project that teaches mechanical principles through hands-on building.
Build Tips
Pay close attention to gear alignment — even a slight offset can affect the clock's function. Test the mechanism before final assembly to ensure smooth operation. Keep the build area clean to prevent dust affecting the moving parts.
A Meaningful Gift
For the person who values craftsmanship and functional art, a DIY clock kit is the perfect present. Once completed, it serves as both a working timepiece and a conversation-starting display piece. Delivered Australia-wide with full tracking.




Check the product details before ordering
Review the product title, photos, listed dimensions, component list and packaging information before ordering. Contents, materials, instructions and build difficulty can vary by model.
If a detail is important to your purchase, contact us before checkout so it can be confirmed for the current batch.
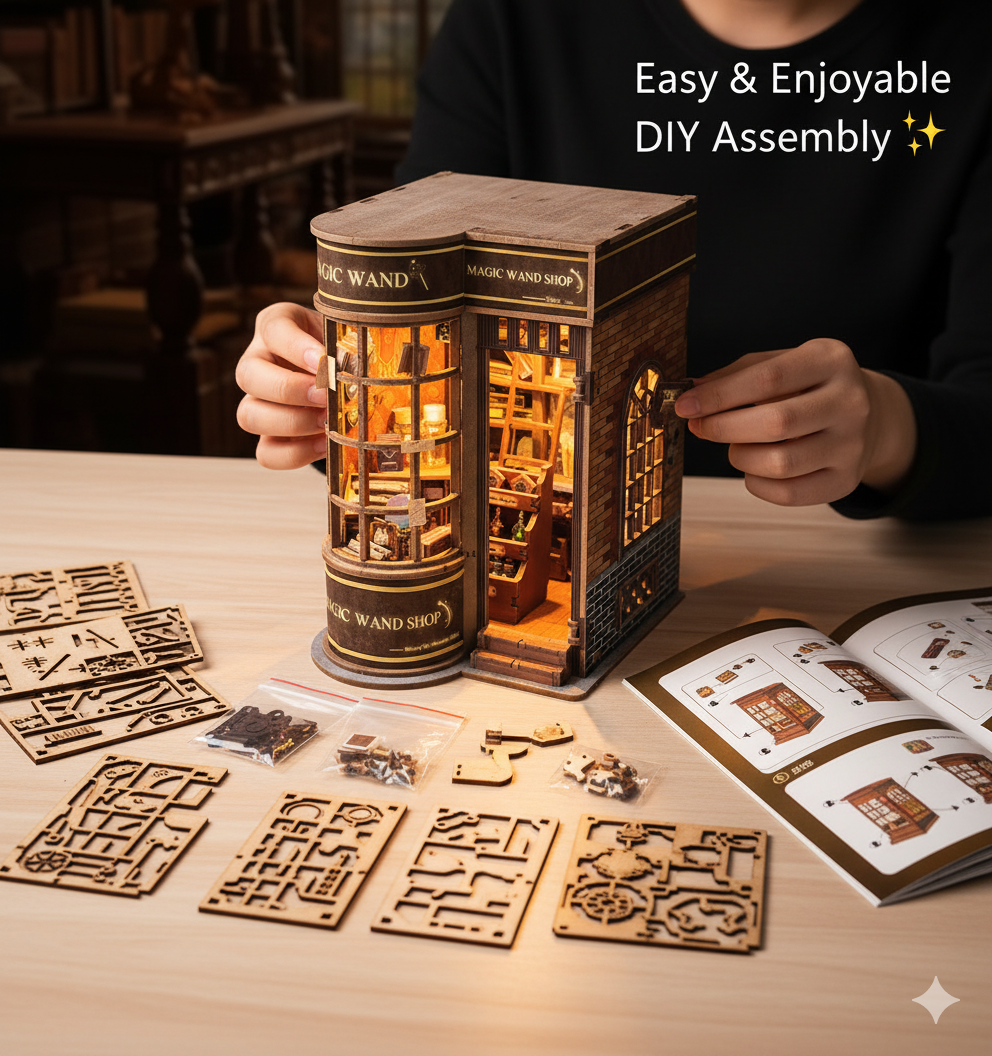
Plan your assembly
Build time and difficulty depend on the model and your experience. Compare the box contents with the printed instructions, organise the pieces, dry-fit parts before gluing and test the LED set before closing the structure.
Small parts, tools, batteries and liquid glue require appropriate care and adult supervision where relevant.

Check the fit before gifting
Before choosing a kit as a gift, check the finished dimensions, listed components, packaging age guidance and the recipient’s model-building experience.
Assembly time, instructions and included accessories vary by model; the product details and box documentation should be treated as the source of truth.